Microsoft server is widely used in enterprise environments because of diferent roles being offered which will discuss gradually but let’s see the Windows server installation steps. You can download the ISO from the below link:
https://www.microsoft.com/en-us/evalcenter/download-windows-server-2025
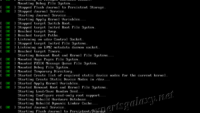
- Now boot your system or Virtual Machine using the ISO file and press any key on the screen as shown below:

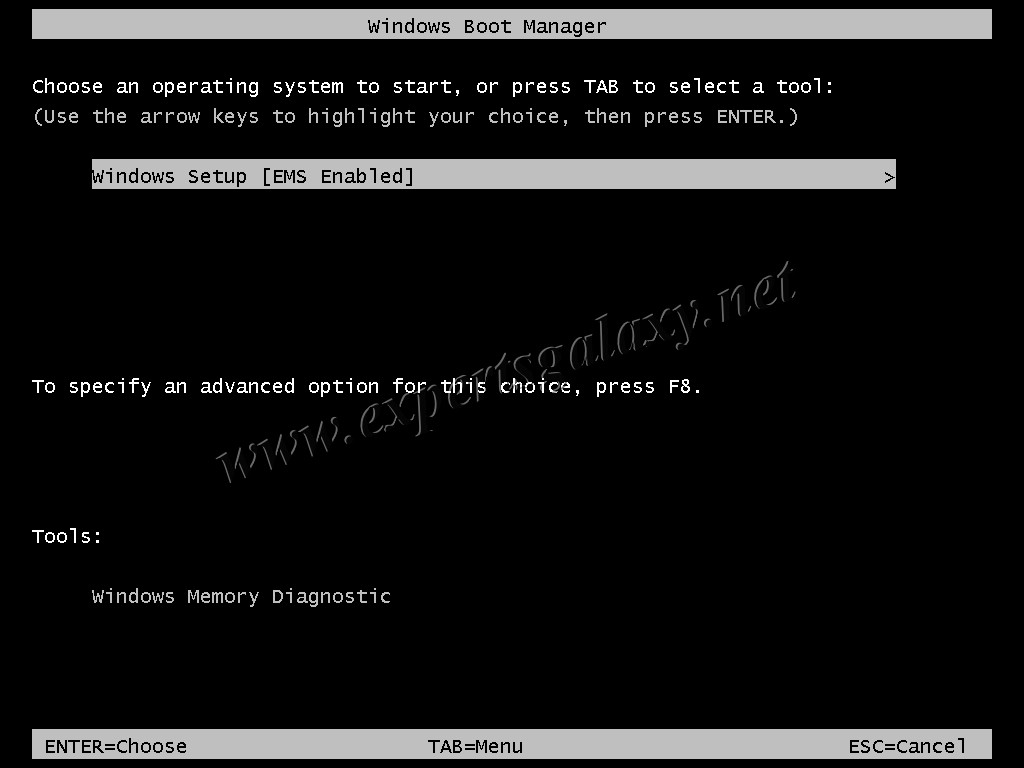
2. Select the setup option
3. It will load the files

4. You will see the Microsoft logo

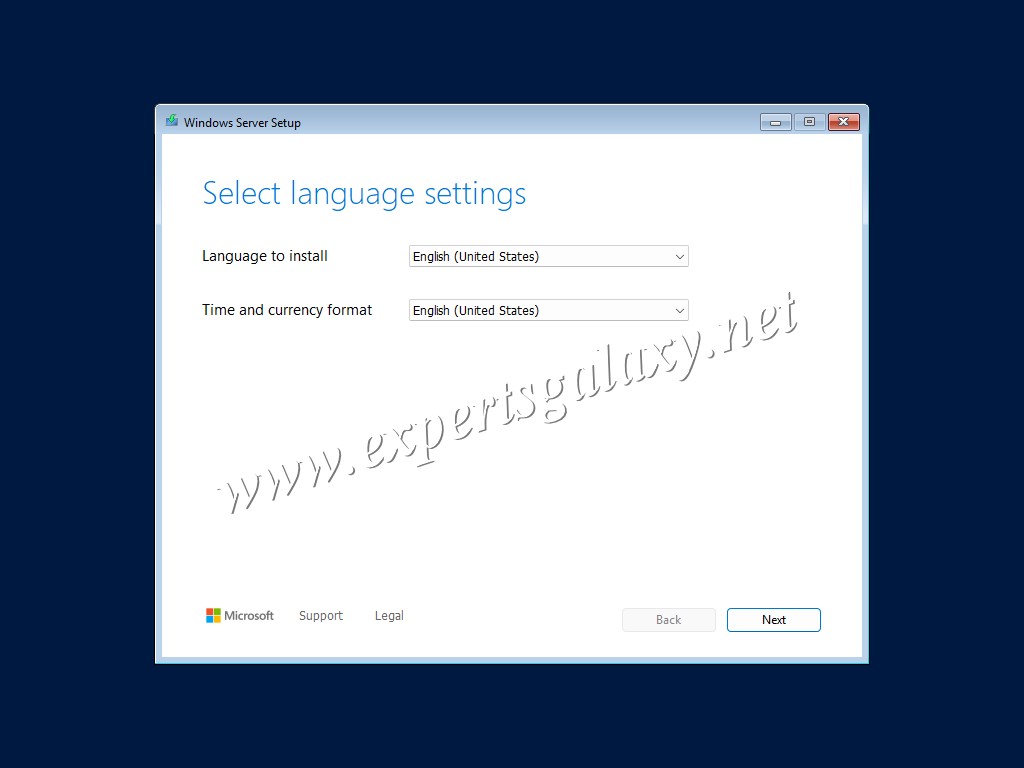
5. Select your language and time format
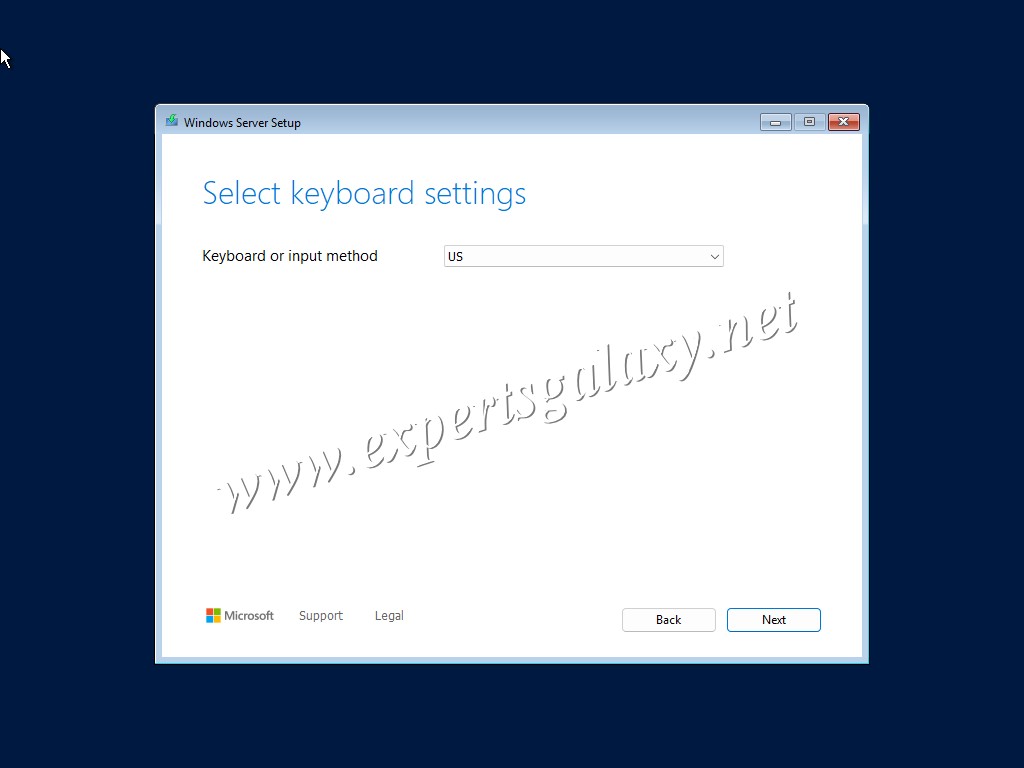
6. Followed by Keyboard layout
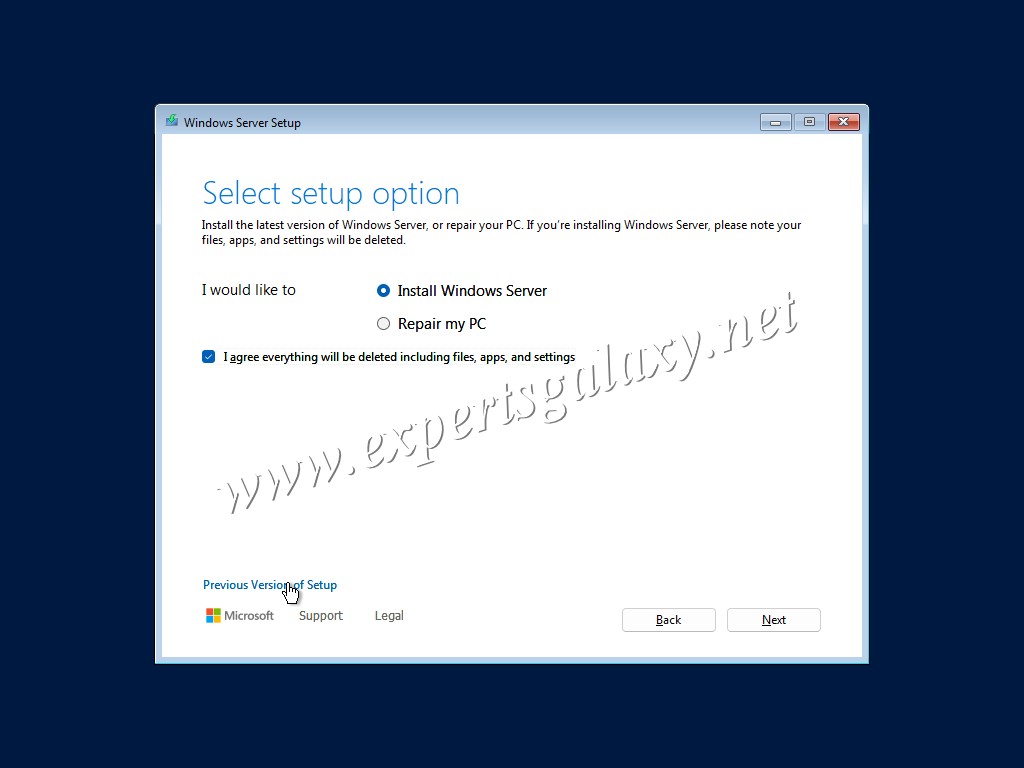
7. Now select the “Install Windows Server” option along with the I agree checkbox. As shown, at the bottom left there is an option to select the “Previous Verion of Setup”.
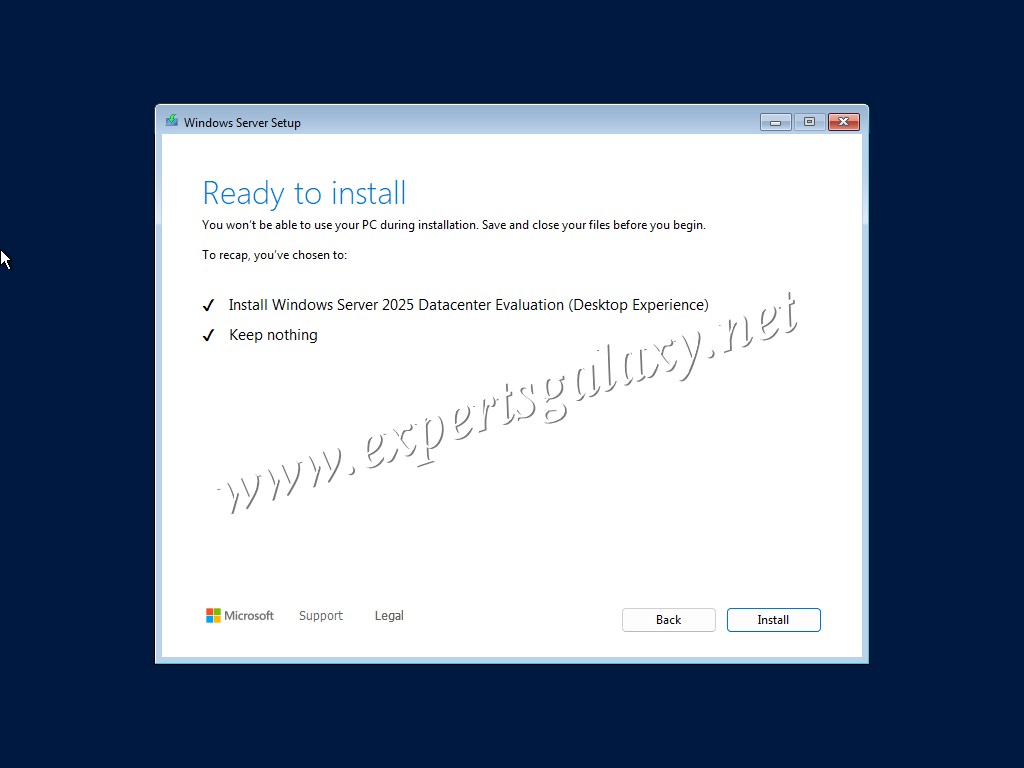
8. If you want to install it in Windows 10 Old Style installation then refer this post else here is the new way to install Microsoft Server which is not much different. Please click next and then select the image you want to install. We will go ahead with the Datacenter Evaluation for this and rest of our labs, along with Desktop Experience option for the GUI availability.

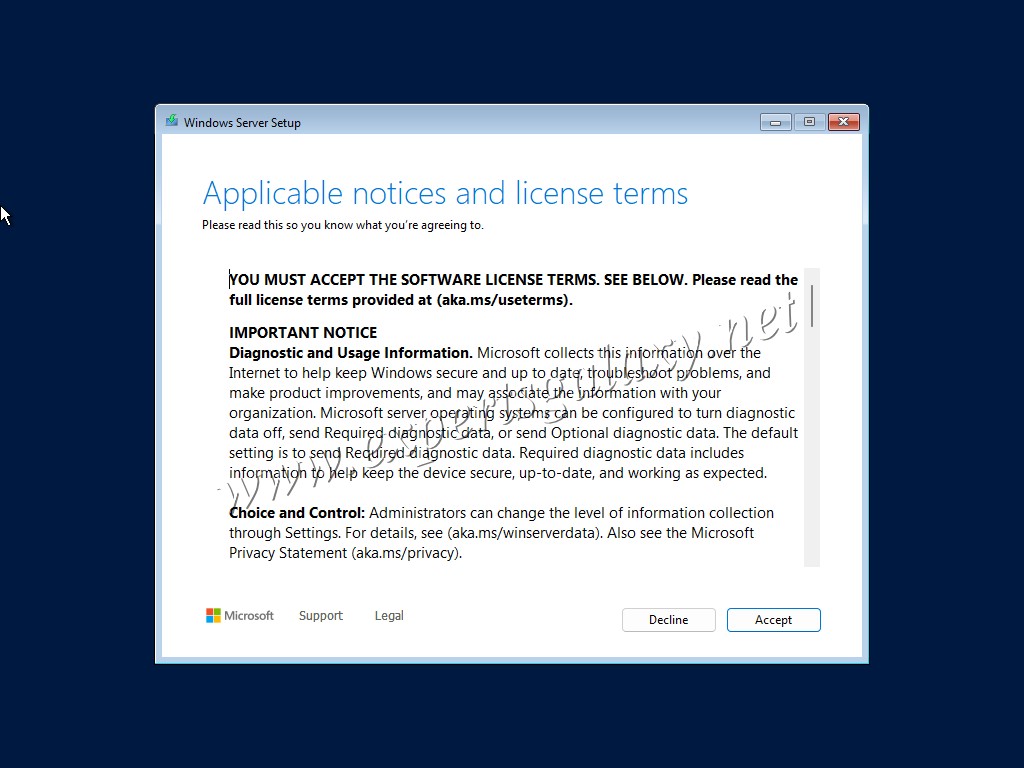
9. Now accept the License terms on the next screen. As mentioned, please read so you know what you are agreeing to. Eg: All tutorials on this blog are for learning purpose and you should engage trained Professionals/Consultants for any Production/Corporate work.
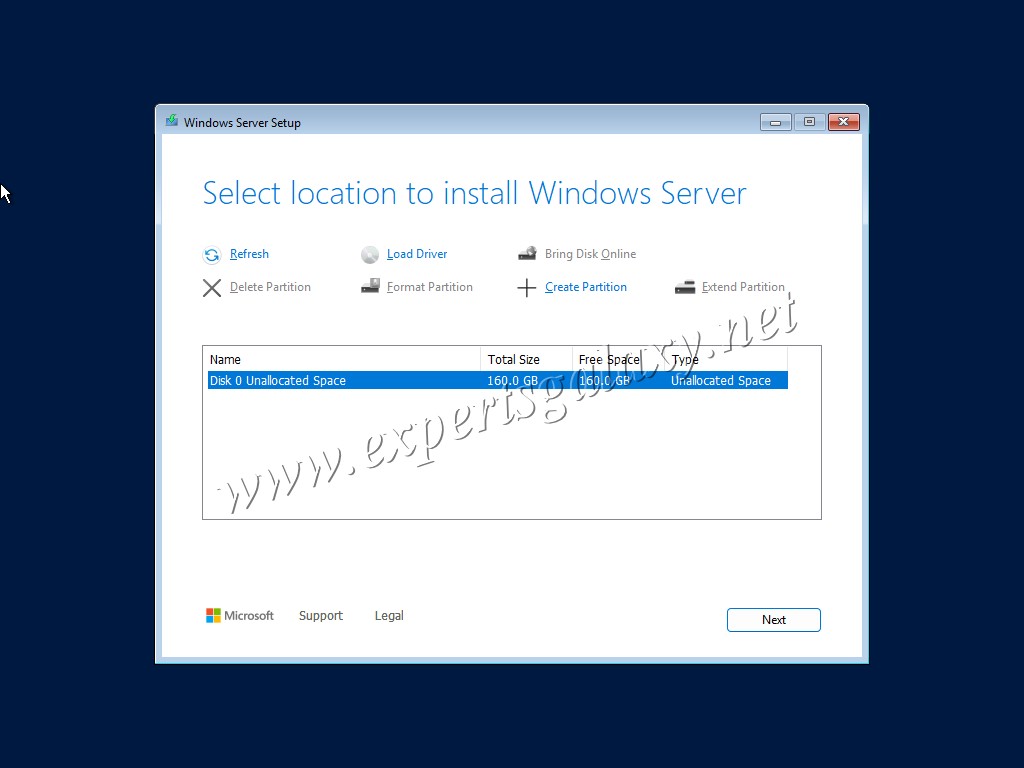
10. Select location to install Windows Server, we already created a virtual disk which is enough for all our labs as we would see.
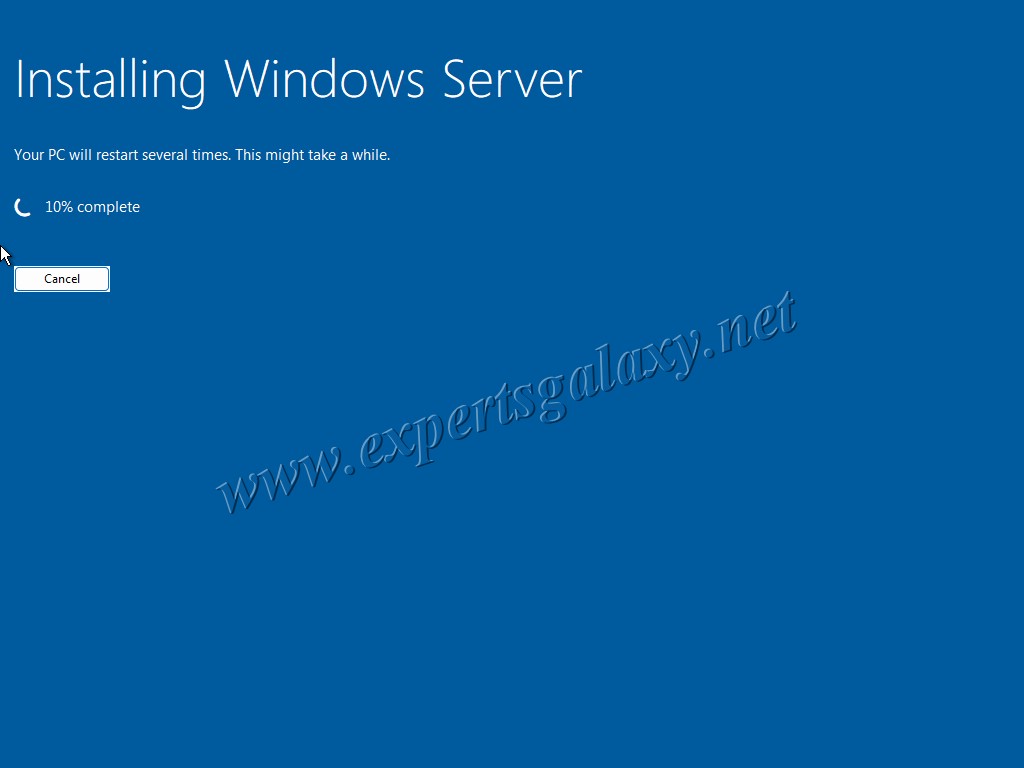
11. Now click install//
12. You will see the installation progress on the next screen
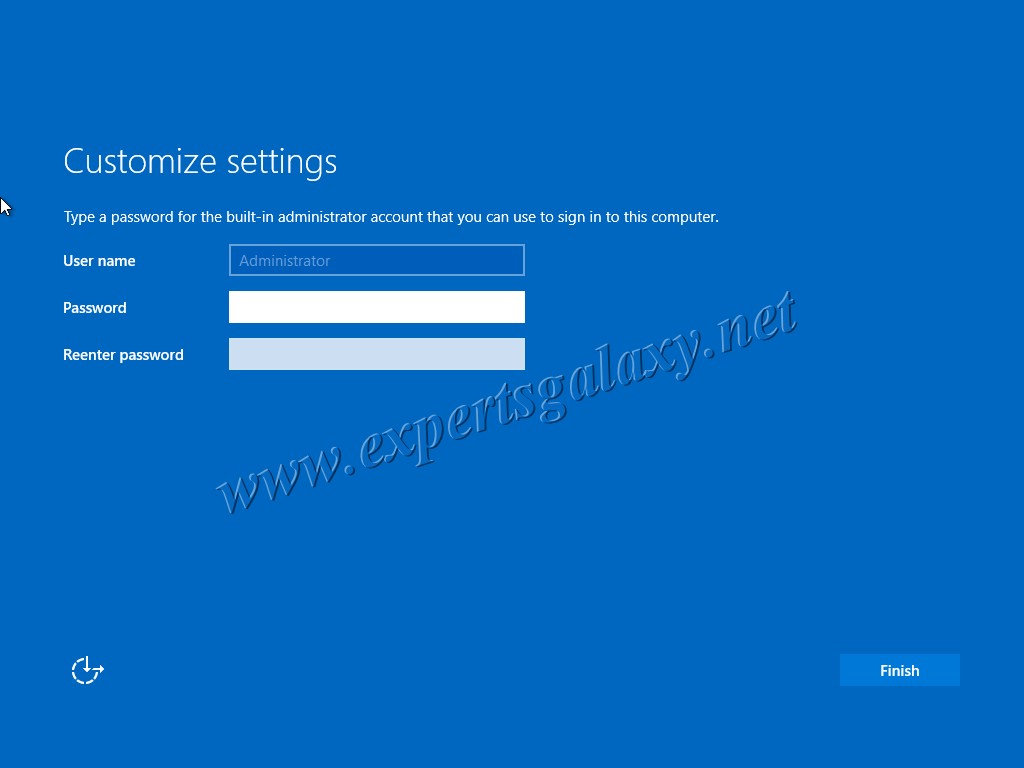
13. After which it will ask you to keep an administrator password. I wish by now or on next version Microsoft should have integrated an MFA scanner to be used offline for enhanced security.
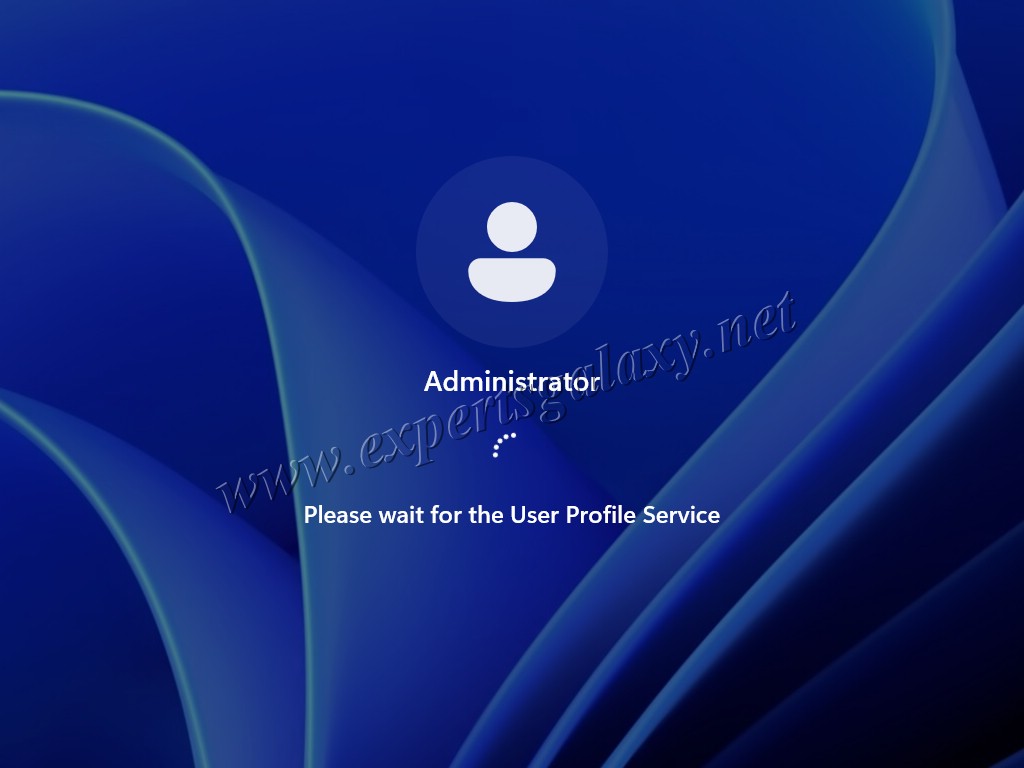
14. Now you can login as your Server installation is complete
15. You can select the options post login as per requirement
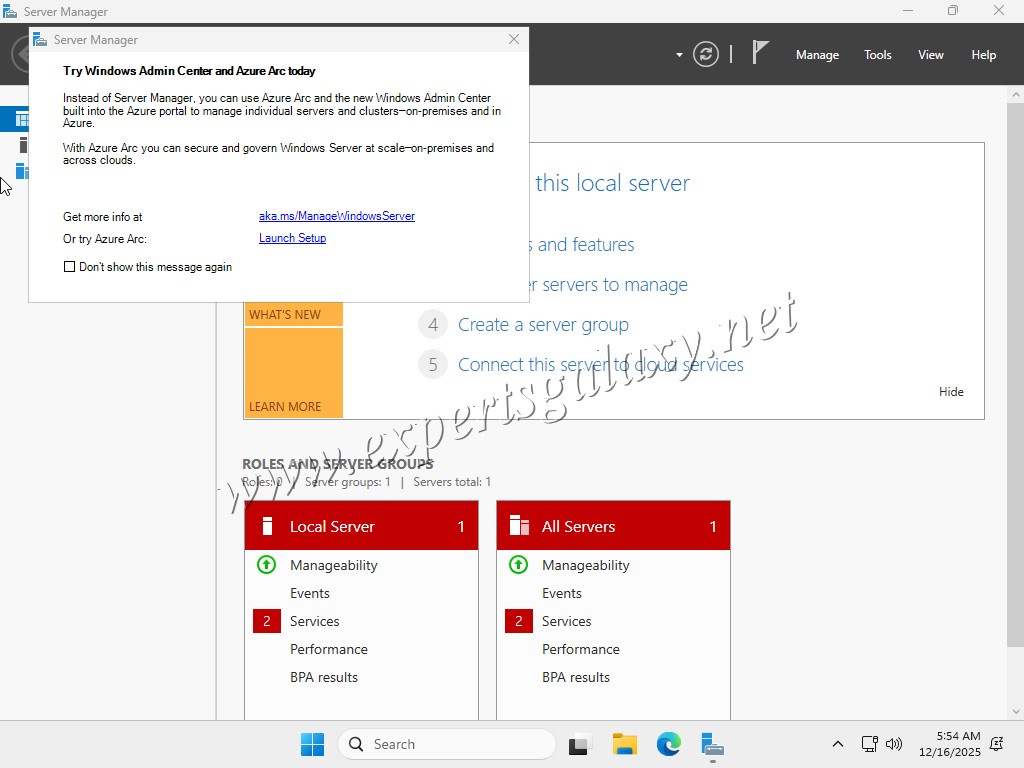
16. Then you will see the Server Manager, which is used to install different roles on the server.
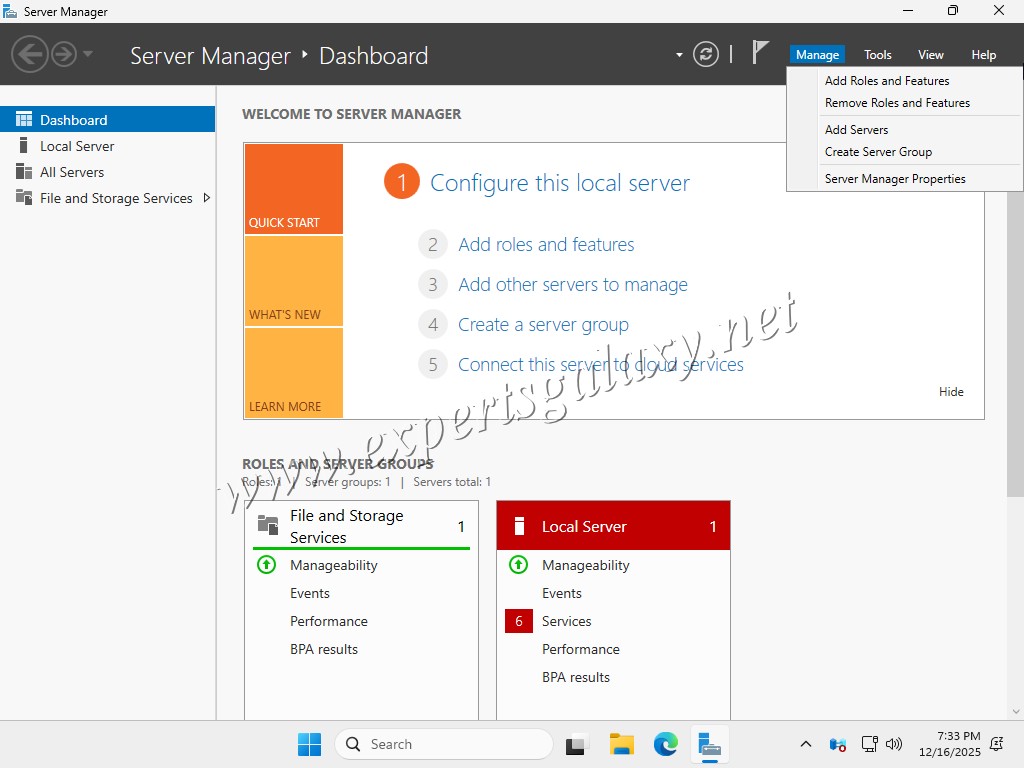
17. We will use the Manage option at top right to install different roles and features
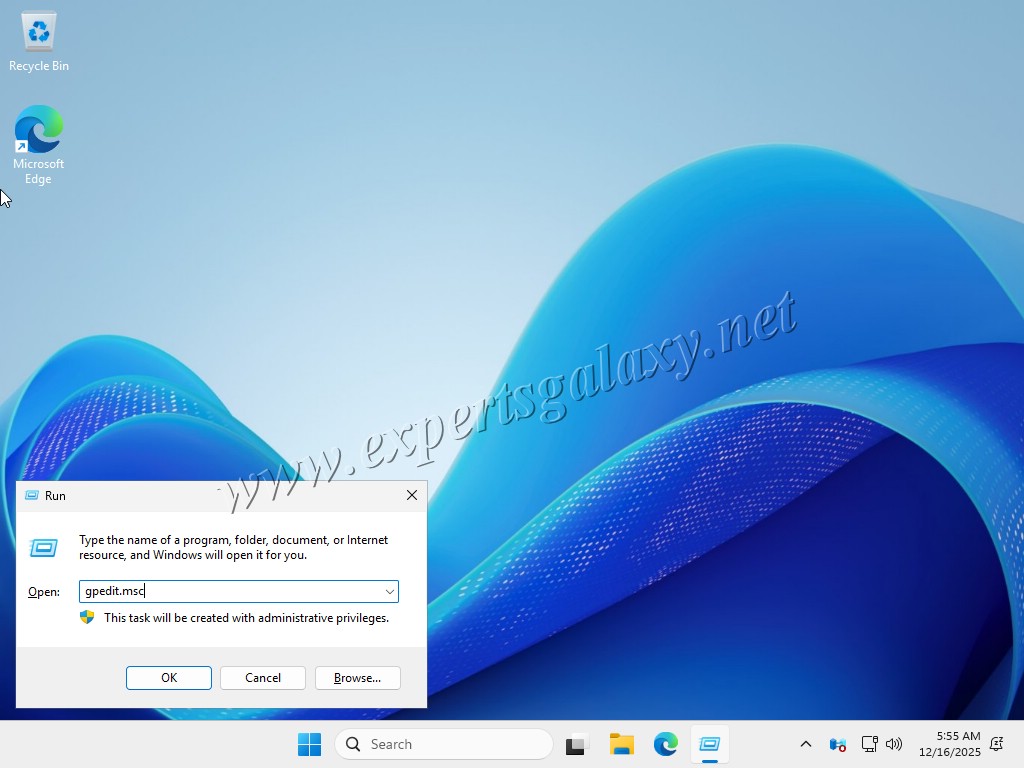
18. You can use the Group policy editor to edit the required policies that we will see in future labs as per the requirements.
19. As Microsoft has Security Identifier (SID) which is a unique string to identify users, groups and computers for security so will do a sysprep. Sysprep (System Preparation Tool) is used to “generalize” a Windows installation by stripping out unique info like the SID, making it safe to clone and deploy the same image to many PCs, preventing ID conflicts. Sysprep creates a clean slate for new machines, allowing them to generate unique SIDs upon first boot, crucial for network security. We will use the Sysprep tool on our new installation
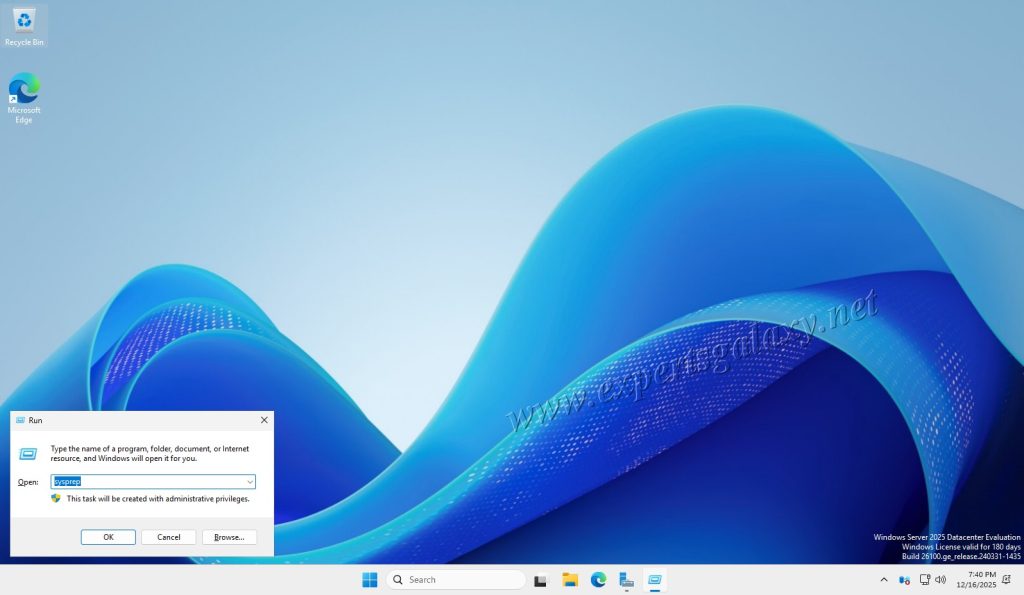
20. Run the utility, and select the following options

21. Upon completion, it will shut down the system

You can use different copies of this installation for multiple labs. Whenever you boot a system, it will generate a new SID for that installation and you save a lot of time in doing a fresh installation for multiple labs. Next we will see the process to install Active Directory on this system.